
An Everest wall-panel project should begin with a measured survey and approved fixing details, not with unloading panels at the site. You will be able to follow the installation sequence, check whether the substrate and site are ready, coordinate openings and services, and judge an installer’s quotation before the wall is concealed by finishes.
Key takeaways
- Confirm shop drawings, substrate levels, openings and embedded services before delivery.
- Unload panels on stable ground and fix them to the approved wall line.
- Seal service penetrations, corners and joints before finishing or handover.
- Compare quotations by scope, substrate preparation, fixing method and inspection records.
What must be confirmed before Everest panels arrive on site?
Confirm the shop drawing and substrate survey before ordering or unloading Everest panels. Record the wall line, clear height, slab and beam levels, column faces, openings, edge distances, embedded services and ceiling connections. Identify whether each wall is an internal partition, external wall, infill wall, wet-area enclosure or non-load-bearing application.
1. Resolve the design role first. A load-bearing wall or unresolved structural movement needs structural resolution or a different system before panels arrive. From the current Everest technical datasheet, installation manual and project specification, confirm panel thickness, dimensions, maximum unsupported height, fire and acoustic targets, connection details and service routes.
2. Inspect the substrate for plumbness, loose plaster, standing moisture, floor-level variation and movement cracks. Show on the survey how uneven floors will receive the approved levelling or packing detail. Do not guess fixing spacing, joint width, permissible surface deviation, cutting zones or curing periods; an incorrect assumption can force rework after panels are cut.
3. Calculate quantities by panel position, not wall area alone. Include door and window deductions, corner pieces, returns, cut panels and replacements for damaged edges, then add cutting allowance after the layout is fixed. Mark and separate different batches or finishes on delivery.
This documented survey is the foundation of the Everest wall panel project process.
How are panels unloaded, set out and fixed?
1. Prepare a firm, level, dry storage area before delivery. Protect packs from standing water, impact and monsoon rain. Plan the unloading route, lift access, high-rise movement, work space, power supply, dust control and debris removal; Pune societies and industrial sites may require delivery slots, entry permissions and approved disposal arrangements.
2. Check every pack for product identification, batch or finish details, chipped edges, cracks, bowing and damaged connection zones. Segregate defective panels instead of concealing them in finished work. Move panels with support that prevents bending and keep them protected until installation.
3. Set out the wall line and prepare the bearing surface. Correct an uneven slab with the approved levelling or packing detail, not thick, irregular bedding.
Install the specified starter, cleat, bracket, channel or restraint detail, then place panels in the approved order using the specified drill, cutting tool, level, plumb tool, screws, anchors, washers, joint compound, reinforcement tape, backing material and sealant.
4. Plumb and temporarily brace each panel before completing the next connection. Follow the manufacturer’s fixing spacing, edge distances, joint width and permissible tolerances; ordinary brick mortar and improvised anchors are not substitutes. At the inspection hold point, record wall line, panel orientation, bearing, connection spacing and temporary-brace removal before finishes conceal the work.
This is the core Everest Rapicon installation in Pune sequence.
How are openings, corners, services and joints completed?
Door and window openings must be resolved on the shop drawings before fitting. For the Everest wall panel installation process in Pune, each drawing should show panel cuts, frame interfaces, edge support and any specified local reinforcement.
1. Do not cut a large opening on site until the current manual confirms the permitted cut zone. The detail must preserve the intended restraint or load-transfer path; wedging a panel into a structural opening and packing the gap with mortar is not an equivalent connection.
2. At corners, wall returns, columns, beams, floors and soffits, install the specified cleats, channels, brackets, anchors, sealants, backing rods and movement details. Coordinate MEP routes before fitting, using planned surface-mounted services, sleeves and approved chases instead of unplanned deep chasing.
3. Check every hole, chase and penetration against permitted dimensions. Keep them clear of connection hardware and concentrated reinforcement. Treat joints with the specified jointing compound and reinforcement tape, then seal perimeter gaps and penetrations where the wall must control air, water, smoke or sound.
4. Keep joint width, surface deviation, sealant type and curing time within the current Everest detail. During Pune’s monsoon, protect wet joints and sealants from driving rain, washout and rapid wetting.
Before plaster, render, cladding or paint, inspect every interface and photograph concealed services, openings, connections and completed joints.
What should you inspect before handover and finishing?
Release the wall to finishing trades only after a documented inspection confirms its location, geometry, connections, openings, penetrations and sealing. This is the final control point in Everest wall panel fitting in Pune.
| Inspection area | Compare against | Record |
|---|---|---|
| Wall geometry | Approved shop drawings and project specification | Wall-line location, plumb, level, panel orientation and opening dimensions |
| Joints and supports | Current Everest installation manual | Joint width, bearing, connection spacing and edge condition |
| Services and interfaces | Approved details | Penetration dimensions, concealed services and continuous perimeter sealing |
| Surface condition | Project specification and approved repair detail | Hollow-sounding areas, loose fixings, uneven joints, damaged corners, visible gaps, moisture ingress and movement-related cracking |
Do not apply a generic masonry tolerance. Mark the wall plan with panel locations, concealed services, repairs and approved changes, then investigate defects at the connection and bearing points rather than inspecting only the visible face.
Diagnose every cracked joint before patching it. Identify whether poor preparation, movement, inadequate restraint, wetting, impact or an incompatible finishing material caused the failure.
Handover records should include:
- Approved shop drawings and product or batch records
- Inspection photographs, repair instructions and maintenance information
- Warranty documents and specification-required test reports
State which plaster, render, cladding or paint finishes are approved. Apply them only after joint compound, sealant and other materials have reached the specified cure. This record establishes responsibility if cracking, dampness or damage appears later.
How should you compare the quotation and installation method?
A low panel-placement time does not guarantee a faster job. The Everest wall panel project process slows down when slabs are unreleased, embeds are missing, lifting routes are blocked or MEP openings change after fabrication.
Ask every installer to assign ownership for:
- Site measurement, shop drawings, substrate preparation and structural checks
- Panel supply, fixings, anchors, cutting and temporary bracing
- Joint treatment, reinforcement tape, sealant, painting and testing
- Transport, unloading, scaffolding or access equipment, monsoon protection and debris removal
Require separate prices for openings, corners, returns, service penetrations, levelling and repairs. Name exclusions: structural movement correction, missing embeds, redesign, crane access, night delivery, society permissions and concealed MEP changes.
| Option | What to compare | What can delay it |
|---|---|---|
| Brick-and-block masonry | More wet work and piece handling, but familiar access and fewer shop-drawing dependencies | Curing, plastering and debris |
| Everest panel system | Fewer pieces and less wet masonry; requires released slabs, lifting routes, connection details and coordinated openings | Poor access, late drawings or missing restraints |
| Drywall | Fast framing and service access; compare its tested fire, acoustic and impact assembly with the panel system | Framing changes, board damage or unsuitable tested performance |
For Everest Rapicon installation in Pune, compare acoustic and impact performance using tested project-specific assemblies, not labels. Ask how the warranty addresses cracked joints, damaged edges, moisture ingress and loose fixings. Motilal Sheshmal and company can help a Pune buyer define these supply boundaries, but demand current manufacturer documents and a written responsibility matrix.
Choose the system that fits the wall’s structural role, access, targets and programme.
Related product
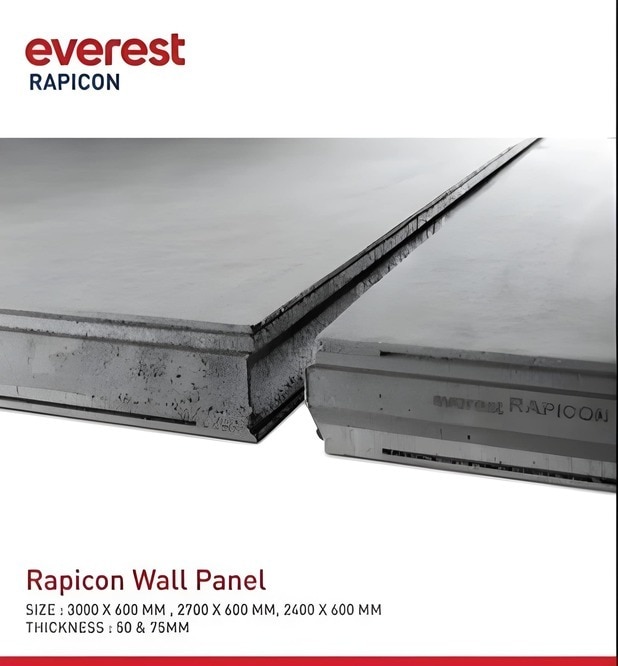
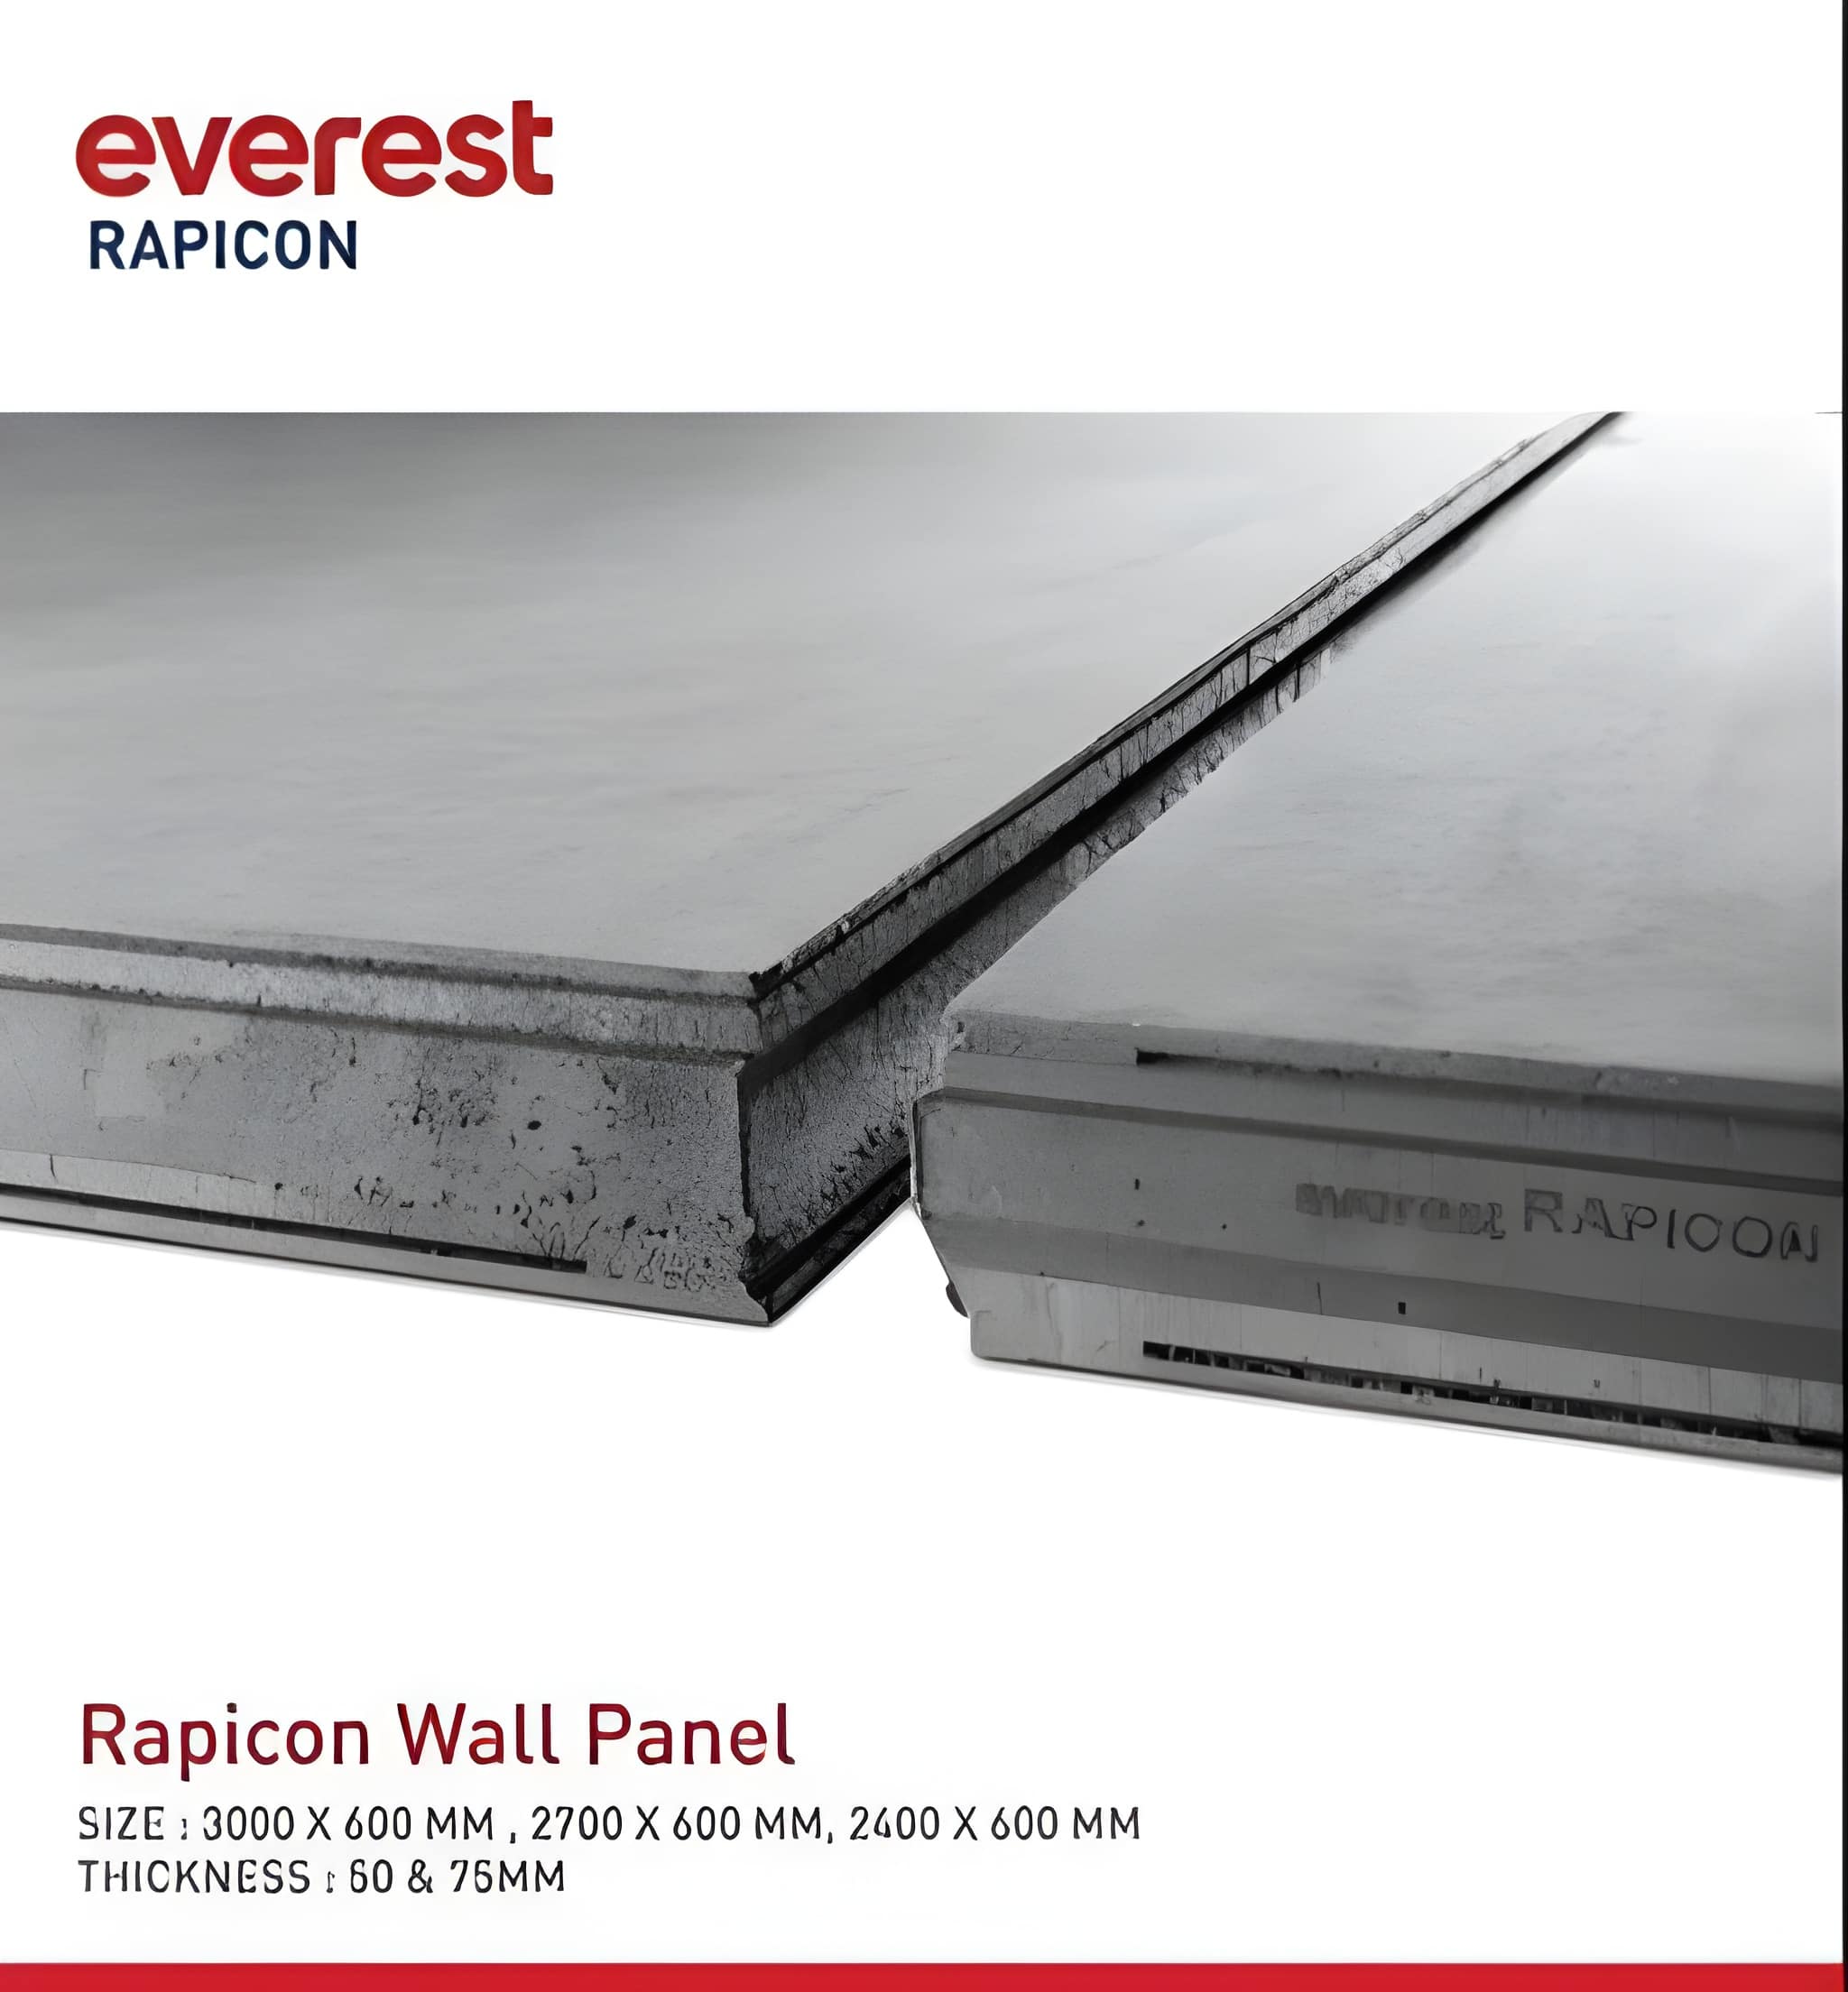 | Everest Rapicon Wall Panels In today's fast paced world, time is of the essence. This is why Everest presents a revolutionary concept, Readymade Walls. View product → |
Frequently asked questions
What must be confirmed before Everest panels arrive on site?
Confirm the shop drawing and substrate survey, including wall lines, clear heights, slab and beam levels, column faces, openings, edge distances, embedded services and ceiling connections. Classify each wall as an internal partition, external wall, infill wall, wet-area enclosure or non-load-bearing application.
How are Everest wall panels unloaded, set out and fixed?
Unload panels onto stable, level support without dragging or dropping them. Mark the approved wall line, check plumb and level, then use the specified supports, fasteners, joint treatment and fixing sequence for the substrate and panel system.
How are openings, corners, services and joints completed?
Set out doors, windows and service routes from the shop drawing before cutting. Reinforce or support openings as specified, protect panel edges at corners, seal service penetrations and finish panel joints with the approved materials.
What should you inspect before handover and finishing?
Check wall alignment, plumb, level, panel damage, fastener placement, joint continuity, corner treatment, opening dimensions, service penetrations and ceiling connections. Record defects and complete repairs before plastering, painting or other finishes.
How should you compare an Everest wall panel installation quotation?
Compare panel quantities, delivery, unloading, substrate preparation, cutting, openings, supports, fasteners, joint treatment, waste removal, finishing and inspection records. Ask each installer to state the fixing method and exclusions in writing.